Today we started into our new Side Scroller project with an overview of the 2D configuration of the Unity Editor, as well as an introduction to sorting layers and 2D Physics, creating a simple “top-down” character controller.
Part 1: 2D Basics
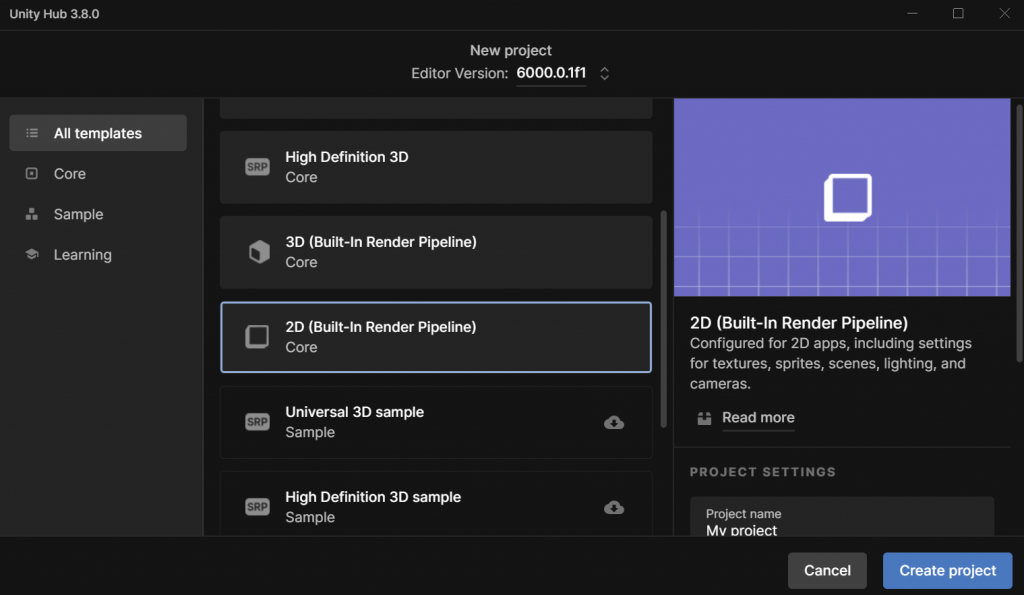
An important distinction to make about building a 2D game in Unity is that it is all the same Unity game engine. There are 2D and 3D capabilities built into the engine, but up to now we have dealt exclusively in the 3D realm. To make development (and the file-size of a project) efficient, many of the packages that are specific to 2D are turned off in the 3D templates. The best way for us to activate these packages is to launch a new project, but use the built-in 2D Template (Built-in Render Pipeline) instead.
When we launch this, our editor will look mostly the same, with a few small, but significant differences. First, you will notice that our Scene window is set to “2D” mode, with our camera facing the XY plane.

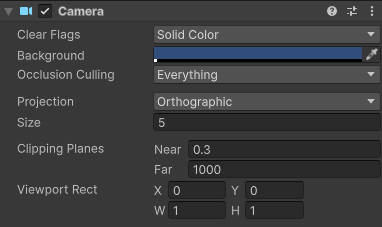
You will also notice that our scene only include a camera – by default there is no directional light, because we will be using sprite rendering in this project instead. Also, our Main Camera is a little different – our Projection is set to Orthographic, and there is no Skybox. (There can be a skybox, but none is included by default, so the Clear Flags option falls back to the Solid Color designation.
While the 2D / Orthographic camera can be used to render 3D content – remember, we did this with our Pong game – the primary method of drawing objects on the screen for 2D content is to use Sprites.
“Sprite” is a term that has been used in the video game industry almost since it’s inception. In the beginning, it referred to an image of a specific size and type that could be drawn directly to the the screen without having to be processed by the CPU, and was used to improve the performance of a game. These days, the term refers to any bitmap (or image) that is used primarily as a 2D object in a game.
For now, we will use Unity’s built-in sprites which are simple shapes that we can use to explore layers and physics.
Part 2: Sorting Layers
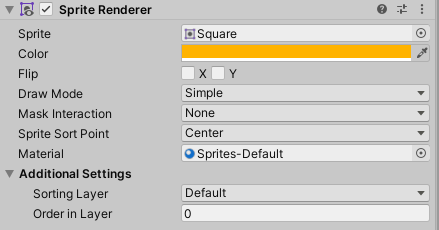
Sprite rendering works differently than 3D rendering – there are no polygons to receive and reflect light, and so the images used for sprites are simply presented (and rendered) as-is. The Sprite Renderer has different properties than the Mesh Renderer that we have previously used, including two very important ones – the Sorting Layer and the Order in Layer, and Unity’s rendering engine uses these values to determine which object to draw on top of another.
The Sorting Layer is given top priority in rendering. The higher the Sorting Layer’s index (as defined in the Tags & Layers panel that we’ve used before), the closer to the camera this layer will render, regardless of other attributes like distance (unless the sprite is behind the camera, and thus outside of the view frustrum). These are especially useful as we set up rules for our tilemaps, so that we can generate proper layers without having to worry about actual z-depths.
The next level of sorting priority when drawing is the Order in Layer setting. Overlapping objects that are contained within the same layer will use this numeric value to determine which should draw on top of the other – the higher number sprite drawing over top of the lower numbered sprite. (These numbers can also be negative, and these values can be changed programmatically if need be).
In the event that overlapping sprites do not have different layers or layer orders, then there are a few other comparisons such as distance from camera (as determined by the pivot point). But if you have overlapping sprites, it’s best to use these systems.
Part 3: 2D Physics & a Top-Down Controller
Unity’s 2D physics system relies on a different physics library than the 3D system, and so the sprites that we create will use a separate set of components when operating in the 2D physics world. There is a Rigidbody2D type component that performs the same task as the 3D Rigidbody, but only operates on the XY plane with the only possible rotation happening on the Z axis, towards the camera).
There are also a set of 2D Colliders which work with this system, including a BoxCollider2D, a CircleCollider2D and a CapsuleCollider2D. It is important to note that collision detection also relies upon its own method, OnCollisionEnter2D(Collision2D collision).
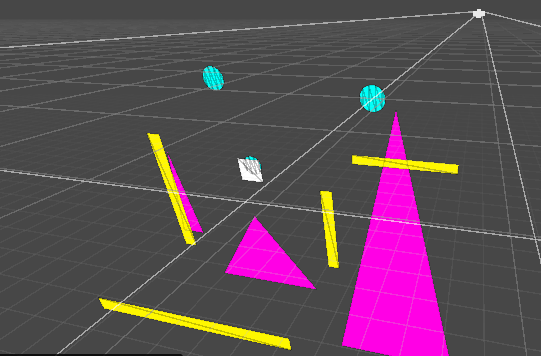
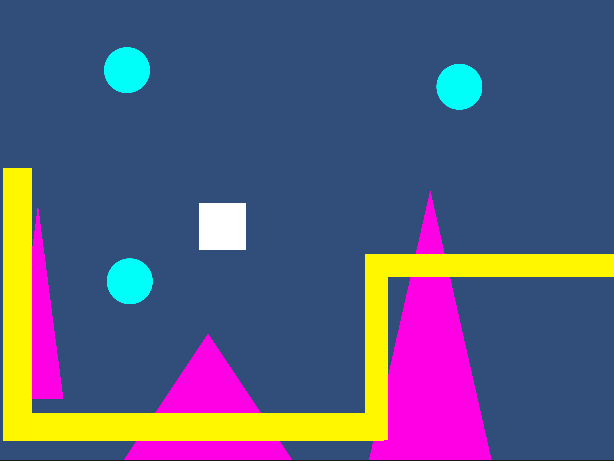
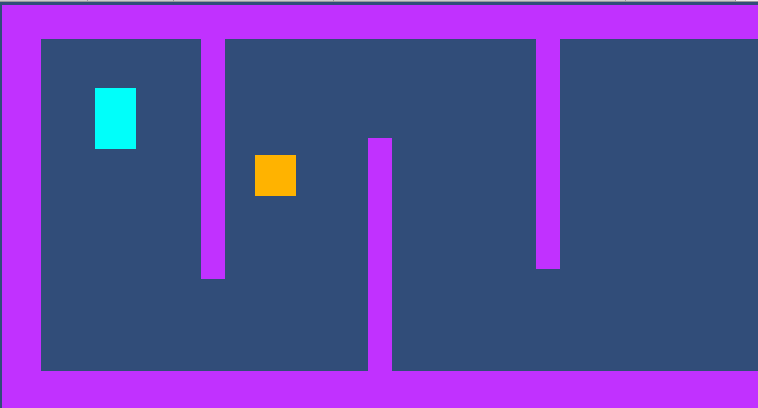
As a demo today, we built a simple environment using multiple square sprites (stretched to form rectangles), plus a few sprites with the Rigidbody controller attached. We used the Rigidbody2D.MovePosition( ) function to move our sprite towards a location that we defined as the current position + a directional offset (using the Input.GetAxis( ) for horizontal and vertical dimensions), then we replaced this with the newer Input System.
Part 4: Input System
Our projects up to this point have used Unity’s legacy system for inputs. (Here, “legacy” means “old, but we will still support it”. One day they will not longer support it at which point it becomes “deprecated”). The system was simple – we query the Input class to get the status of a keypress or axis, and read the result as a bool or float. But these days we have a wealth of options for how users might interact with our games – keyboards, mice, joysticks, gamepads, XR controllers, the list goes on.
Unity now supports a newer Input System that makes managing these device inputs simpler by allowing developers to map their controls to “actions” that can be named, and subsequently accessed in order to read their value or receive events like whether or not a button has been pressed. In today’s class we demonstrated how the default “Move” inputs could be read and implemented much in the same way we used GetInputAxis, but be interpreted regardless of controller type.
First we include our “using” statement so that the appropriate libraries are included. (Visual Studio did this automatically for us in class today.)
using UnityEngine.InputSystem;
Next, we declared an InputAction type variable.
InputAction moveAction;
Inside of our Start( ) command, we set this variable to point at the specific action we want to observe (in this case it is the “Move” value, which generates a Vector2:
moveAction = InputSystem.actions.FindAction("Move");
Now that our variable is associated, we can test the value during Update to change our direction vector. If you include the Debug statement you will notice that the vector is automatically normalized. This is the default configuration of the Input System Package settings, found under Project Settings.
void Update()
    {
        // get the movement input
        direction = moveAction.ReadValue<Vector2>();
        Debug.Log("Direction: " + direction);
    }
TopDownCharacterController.cs
using UnityEngine;
using UnityEngine.InputSystem;

public class TopDownController : MonoBehaviour
{
    public float speed = 1f;

    private Rigidbody2D rb;
    private Vector2 direction;

    private InputAction moveAction;

    void Start()
    {
        rb = GetComponent<Rigidbody2D>();
        direction = new Vector2();

        moveAction = InputSystem.actions.FindAction("Move");

    }

    void Update()
    {
        // listen for the move value
        direction = moveAction.ReadValue<Vector2>();

        Debug.Log("Direction: " + direction);
    }

    private void FixedUpdate()
    {
        if (rb)
        {
            // move the controller
            rb.MovePosition(rb.position + (direction * speed * Time.fixedDeltaTime));
        }
    }
}